What is WSL?
If you’re a cross-platform developer working across both Windows and Linux then you need the Windows Subsystem for Linux. Known as WSL and pronounced whizzle, it’s an easy way to install and run a Linux dev environment inside Windows 11, giving you all your favourite Linux things without the hassle of setting up a virtual machine or dual-booting.
For me, I like to build continuous integration and deployment pipelines in Azure DevOps and GitHub Actions, sometimes automating steps with bash scripts. But these scripts are tricky to write and test in Windows. Before, I’d have to push changes, publish the pipeline, run it remotely, then repeat ad nauseam. Slow going for a shell script edit-run-test cycle. No such problem with WSL, I can quickly run and test bash scripts locally, without the fuss. But that’s not all you can do with WSL.
What else can WSL do?
If you’re a nostalgic Unix-beard hacker, who loves contorting fingers and memorising impossible key combinations, you can use your old favourite Linux text editors like Vim or Emacs or Nano. Or run mysteriously acronymed Linux stacks like LAMP (Linux, Apache, MySQL, PHP/Perl/Python) or MEAN (MongoDB, Express, Angular, Node.js). Or troubleshoot and fix broken Kubernetes clusters. Or use Linux’s command-line tools and utilities, like grep or sed or awk, because no matter how powerful PowerShell is, it rarely makes the easy things easy enough.
You can, of course, now run some of these things directly on Windows. But that’s like drinking wine from a coffee mug, it’s wrong and makes you look desperate. Running natively inside Linux on Windows is a sophisticated, authentic experience. You could also run a Linux VM, but WSL is so much easier to set up, more lightweight, and uses fewer resources. And most importantly, WSL is mighty good fun.
How does WSL work?
No idea. Some sort of Linux kernel virtualisation magic running inside an optimised cut-down Hyper-V compatibility layer that runs native Linux ELF64 binary executables on Windows? Something like that. Probably.
How to install WSL on Windows 11?
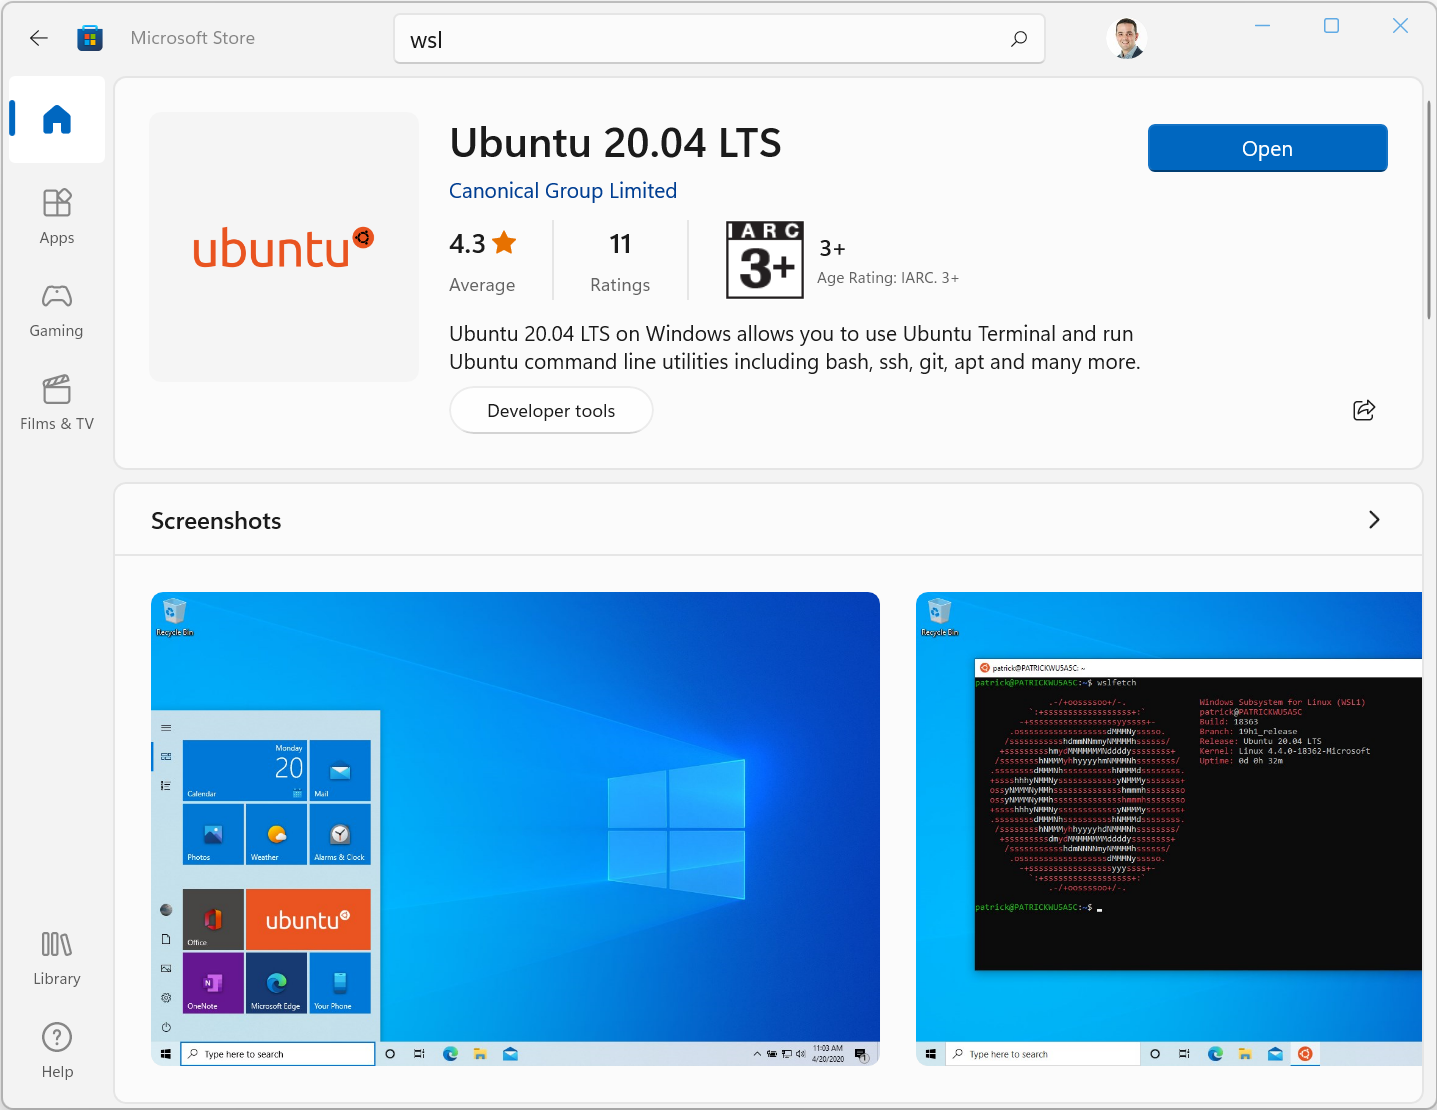
Getting WSL running on Windows 11 is super-easy. The first option is to download and install from the Microsoft Store.
But if you’re the sort of person who prefers to install things the easy way, opening windows and clicking buttons, then perhaps Linux isn’t for you. So let’s have a go using the wsl.exe command-line instead.
There are a few different Linux distros available to choose from, let’s list them from a command or PowerShell prompt:
PS C:\Users\chris> wsl --list --online

The following is a list of valid distributions that can be installed.
The default distribution is denoted by '*'.
Install using 'wsl --install -d <Distro>'.

  NAME            FRIENDLY NAME
* Ubuntu          Ubuntu
  Debian          Debian GNU/Linux
  kali-linux      Kali Linux Rolling
  openSUSE-42     openSUSE Leap 42
  SLES-12         SUSE Linux Enterprise Server v12
  Ubuntu-16.04    Ubuntu 16.04 LTS
  Ubuntu-18.04    Ubuntu 18.04 LTS
  Ubuntu-20.04    Ubuntu 20.04 LTS
The default, marked by an asterisk, is the Ubuntu distro. It doesn’t say which version is the default, so let’s explicitly install Ubuntu 20.04, then reboot Windows:
PS C:\> wsl --install --distribution Ubuntu-20.04
Installing: Virtual Machine Platform
Virtual Machine Platform has been installed.
Installing: Windows Subsystem for Linux
Windows Subsystem for Linux has been installed.
Downloading: WSL Kernel
Installing: WSL Kernel
WSL Kernel has been installed.
Downloading: GUI App Support
Installing: GUI App Support
GUI App Support has been installed.
Downloading: Ubuntu 20.04 LTS
The requested operation is successful.
Changes will not be effective until the system is rebooted.

PS C:\> Restart-Computer
After rebooting, a WSL terminal will open asking to create your new admin user account, to automatically login whenever WSL launches, and have the ability to run administrative sudo commands:
Installing, this may take a few minutes...
Please create a default UNIX user account.
The username does not need to match your Windows username.
For more information visit: https://aka.ms/wslusers
Enter new UNIX username:
Update and upgrade WSL
Now we’re almost there. Last thing to do is install all the latest greatest bug fixes and security patches. First update the Linux kernel from Windows using wsl.exe:
PS C:\Users\chris> wsl --update
Checking for updates...
Downloading updates...
Installing updates...
This change will take effect on the next full restart of WSL.
To force a restart, please run 'wsl --shutdown'.
Kernel version: 5.10.60.1
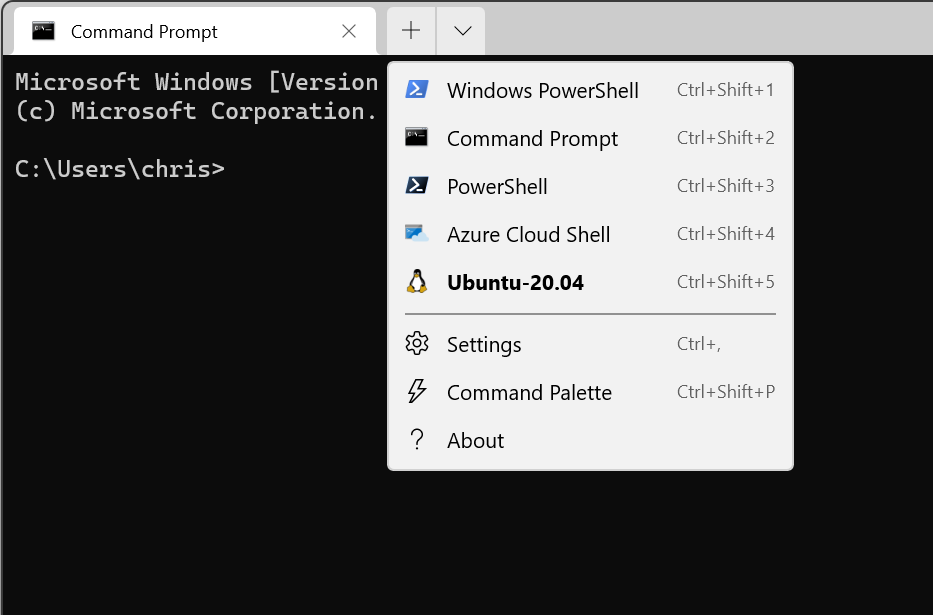
Then, open an Ubuntu-20.04 bash shell in Windows Terminal and upgrade all packages using Ubuntu’s apt package manager:
$ sudo apt update && sudo apt upgrade
That’s it. You can now open Ubuntu and start doing Linuxy things, right from inside Windows 11: